Welders love Welding Tables!
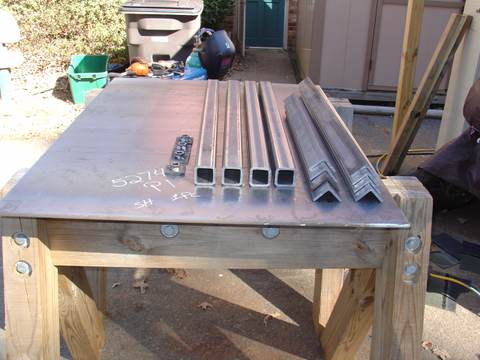
In order to inspire creativity we have to think outside of the box. Each welder, garage-handyman, or other creative type will have their own way of doing things. Recently, I came across a basic welding table that I thought was done well. It is a 3′ x 4′ table with leveling feet with a 3/8″ top plate.
The table above appears to be pretty basic, it serves the function of a sturdy welding table and has a receiver built into the top plate to handle a vise or other tool. Another thing I like about this table is that the guy who built it incorporated 12 outlets, 6 each on the 4′ sides, and then hard wired them all to a 12 gauge extension cord, which hangs neatly off to the side for easy access. This really comes in handy when many tools can be plugged in at the same time, like a chop saw, drills, and multiple grinders.

The welding table below is a bit different, but still on the creative side. It improves the general aesthetics when compared to the table above, where the two shelves below are recessed, but does not incorporate a receiver to mount an additional tool, or electricity to power the many power tools welders constantly use.

The top plate on the welding table above is a hefty 1″ thick and blanchard ground perfectly flat. It has locking casters and the shelves were made using a brake, which gives them a very professional look. I especially like the recessed shelves because you can stand right up to it without the shelves getting in the way of your legs when trying to hold certain positions while welding.
Thousands of welding tables exist all around the world and serve many different purposes. When considering what to incorporate on your own welding table, get a notepad out and take some notes while looking through pictures of what other people have made. As you figure out what you want while looking at other people’s projects, you will most likely have other ideas that will serve your purposes. If the budget will keep you from adding all the frills to your welding table, our recommendation is to draw it up with all the frills anyway. Then, build the basic version, and later when the budget allows, you can add those frilly features that we all love.
Make sure you document everything along the way because if it turns out as amazing as you plan it to be, you’ll definitely want to duplicate it and maybe one day, you can sell some plans.
Good luck on your welding table project and don’t forget to check out our Pinterest Account. Follow our boards and repin all your heart desires!
Kelly
Sources:
Leave a comment